
Getting sharp photos of hummingbirds in flight requires fast shutter speeds — and fast shutter speeds in anything less than bright sunlight mean high ISO.
Our backyard garden is shaded for most of the day. To get my shutter speed at, or above, 1/2000s at 500mm f/7.1, I'm routinely at ISO 8,000 on sunny days and ISO 16,000 or more on overcast ones. Before I found a solution, that meant a lot of noisy, soft images I couldn't use.
The Problem with Standard Noise Reduction
The noise reduction built into Lightroom and Photoshop does an acceptable job at moderate ISOs — but there's always a trade-off. Push it hard enough to clean up ISO 16,000, and the image goes soft. Try to sharpen it back up, and the noise returns. With hummingbirds — small subjects that need heavy cropping — even small amounts of noise become very obvious.
I stopped shooting above ISO 3,200 for a while, which meant missing a lot of shots in our shaded garden.
Discovering DxO PureRAW
I downloaded the trial of the first version of DxO PureRAW several years ago and tested it on several high-ISO hummingbird shots. Within minutes of seeing the results, I bought a license. The difference was that obvious. I paid for every upgrade since then without even thinking about it.
DxO PureRAW uses AI-based processing built around camera-and-lens-specific profiles (trained on thousands of images for each camera/lens combination). Because it knows the noise characteristics of your exact setup, it separates image detail from sensor noise far more effectively than generic noise reduction tools.
I now shoot without thinking about ISO. I set my camera in manual mode for shutter speed and aperture, and use the Auto ISO setting to let the camera adjust the ISO for me, without worrying about how high the ISO might be.
DxO PureRAW is now up to version 6, and has gotten significantly better with each version.
The same technology is also built into DxO PhotoLab, which is now at version 9, and is my new favorite photo editing app for all my wildlife and travel photography.
DxO PhotoLab 9
After many years of using Lightroom, I have now switched to DxO PhotoLab 9 for the majority of my photo editing work and will be cancelling my Adobe subscription soon. The new AI-based masking is PhotoLab 9 is now good enough that I no longer feel I need to use Lightroom's masking tools.
It didn't take long for me to adjust to PhotoLab after using Lightroom for many years, and the workflow is much more streamlined now. The PureRAW algorithms are integrated fully in PhotoLab, and the processing is almost instantaneous when editing a photo. It's all non-destructive, so you can go back and adjust at any time.
If you don't need the very specific masking tools in Lightroom, or the Lightroom catalog features, it's definitely worth checking out the free trial of PhotoLab 9. If you're already using Lightroom and don't want to switch, PureRAW works great as a Lightroom plugin as well as standalone for editing RAW files individually or in batches.
RAW vs. DxO PureRAW — See for Yourself
These are 100% crops from an image shot in low-light conditions in the cloud forest of Ecuador, at ISO 25,600, which would normally be an almost unusably high ISO. Both versions have the same exposure and color settings; no noise reduction was applied to the RAW version.
Drag the handle left and right to compare:
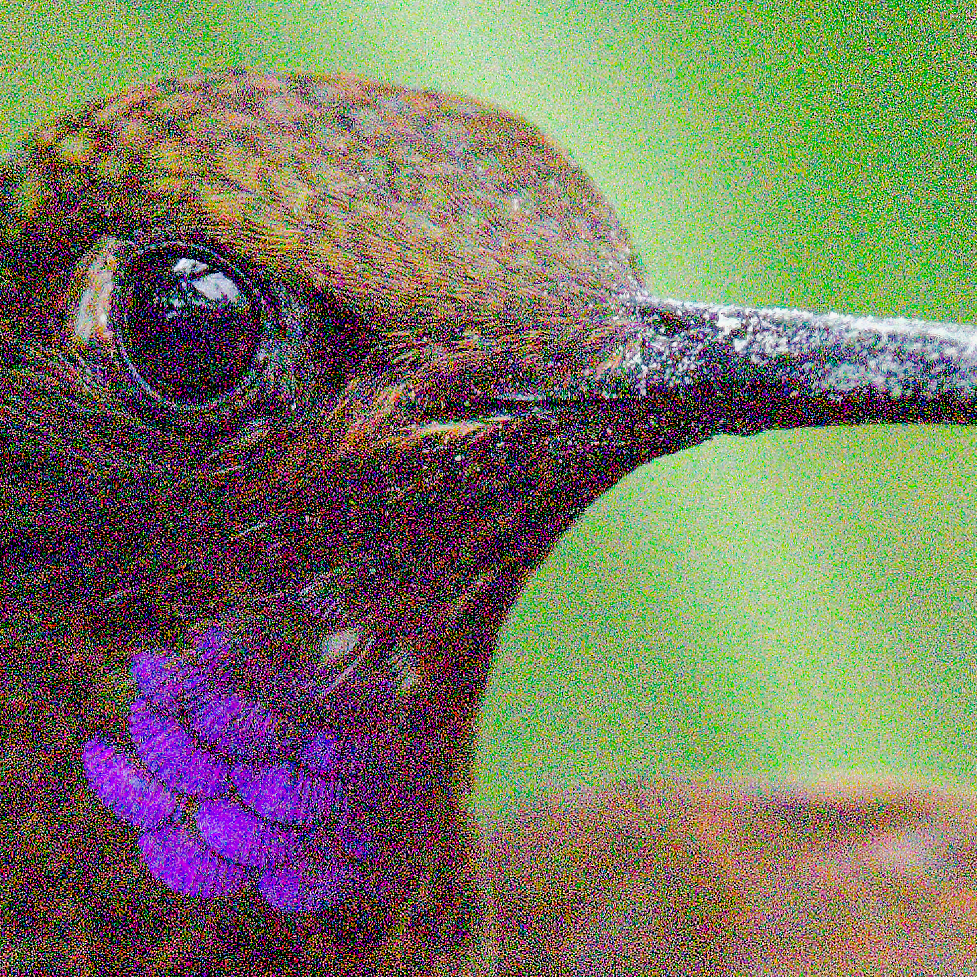
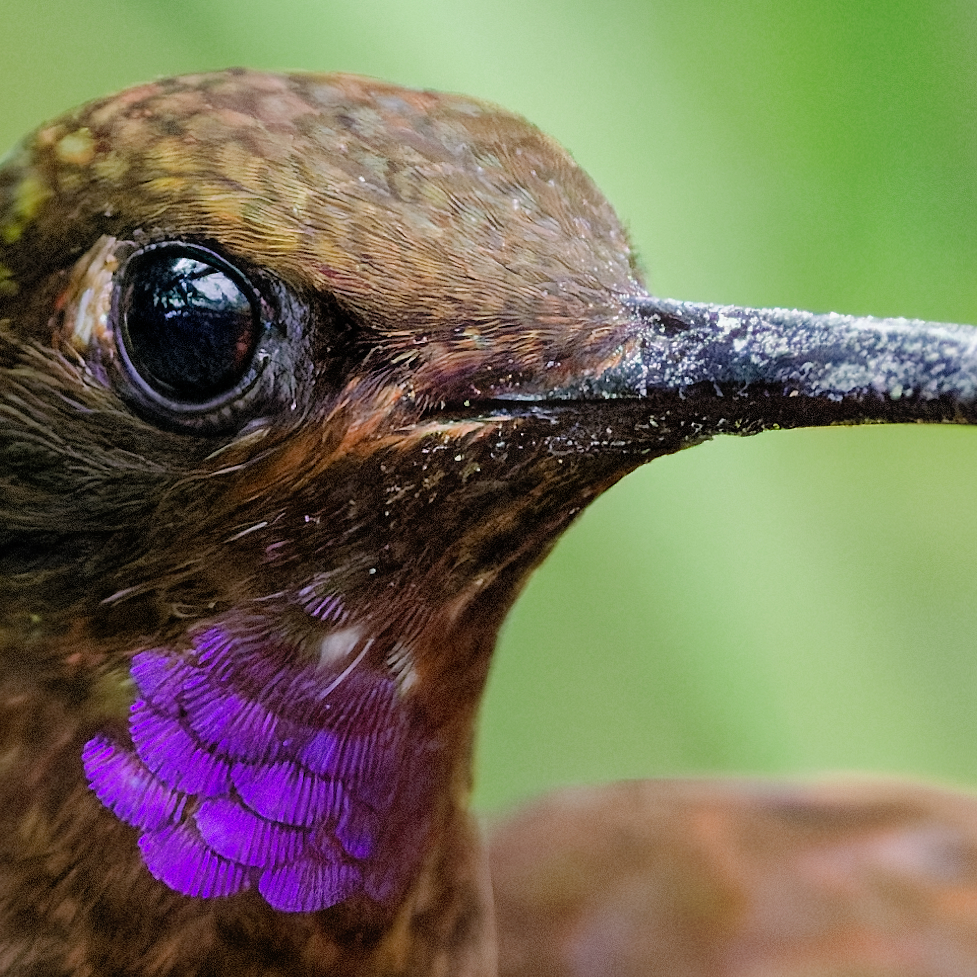
The same pair at full image size — not cropped in:
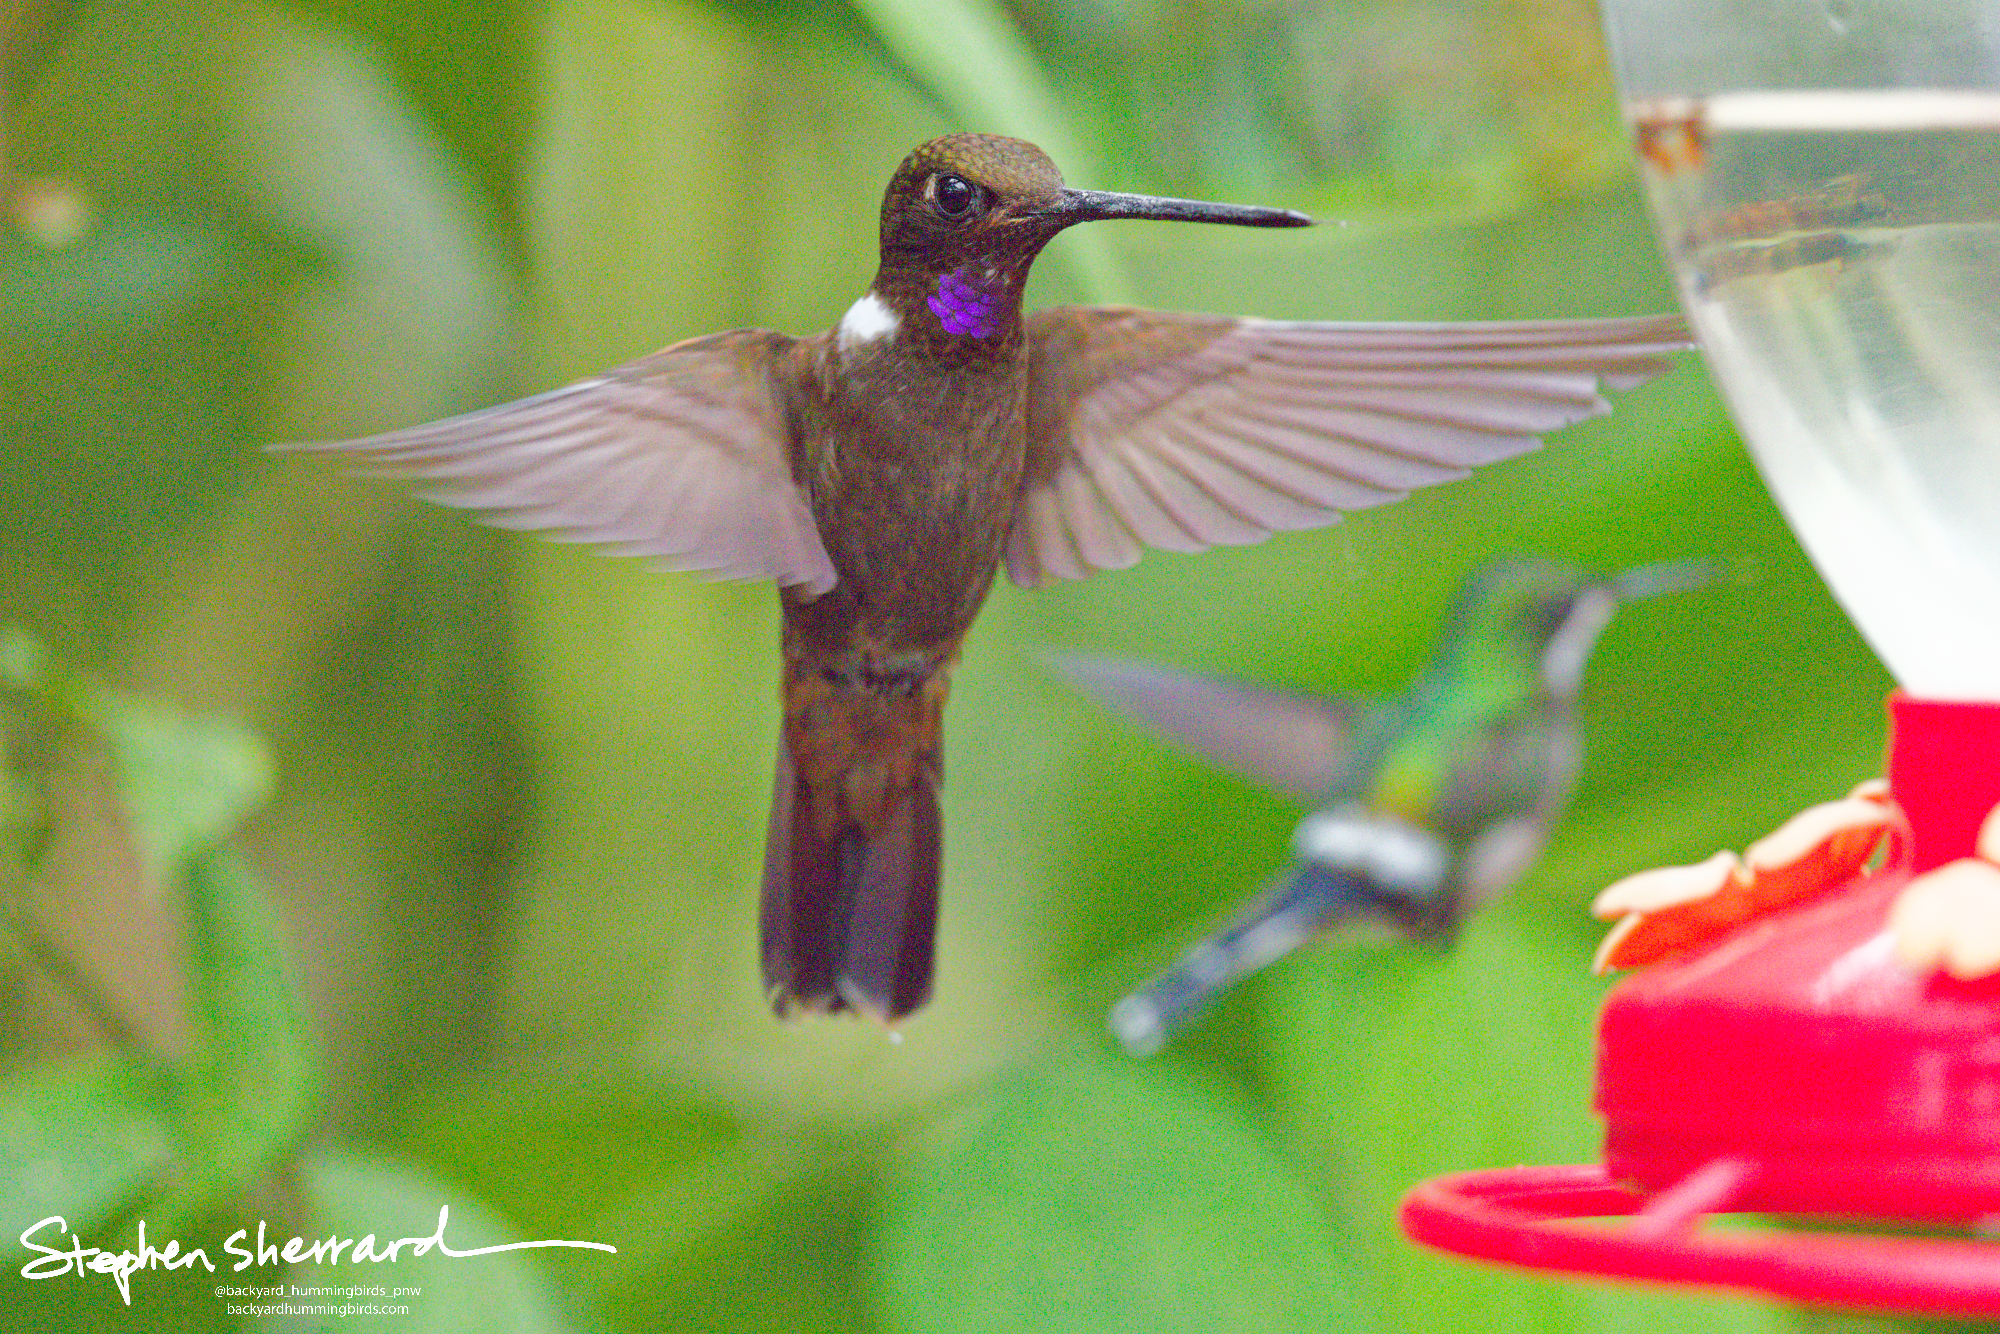
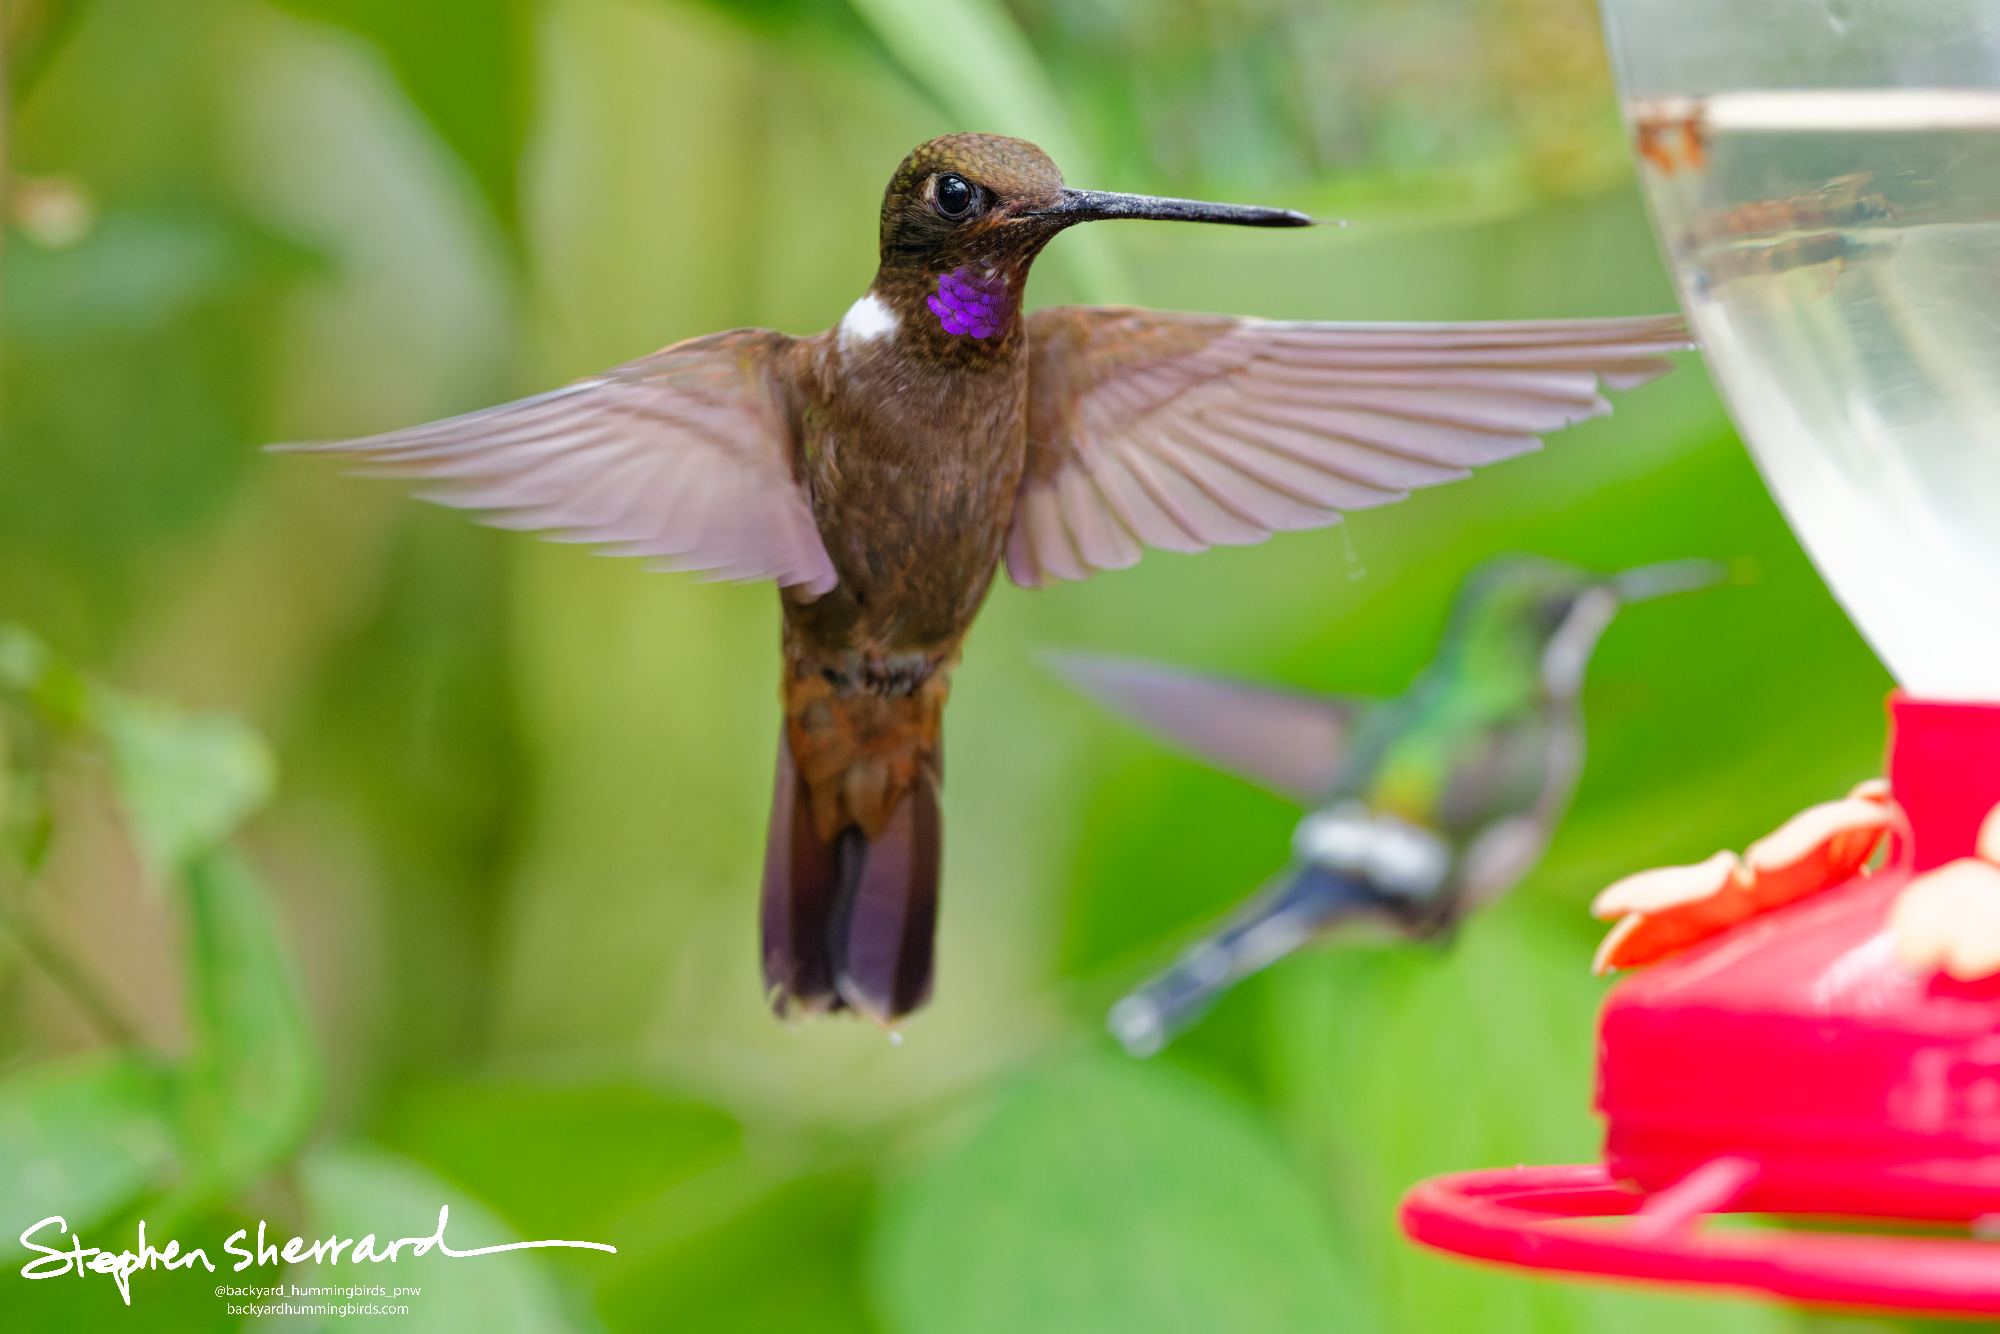
High ISO Gallery — Real Shots
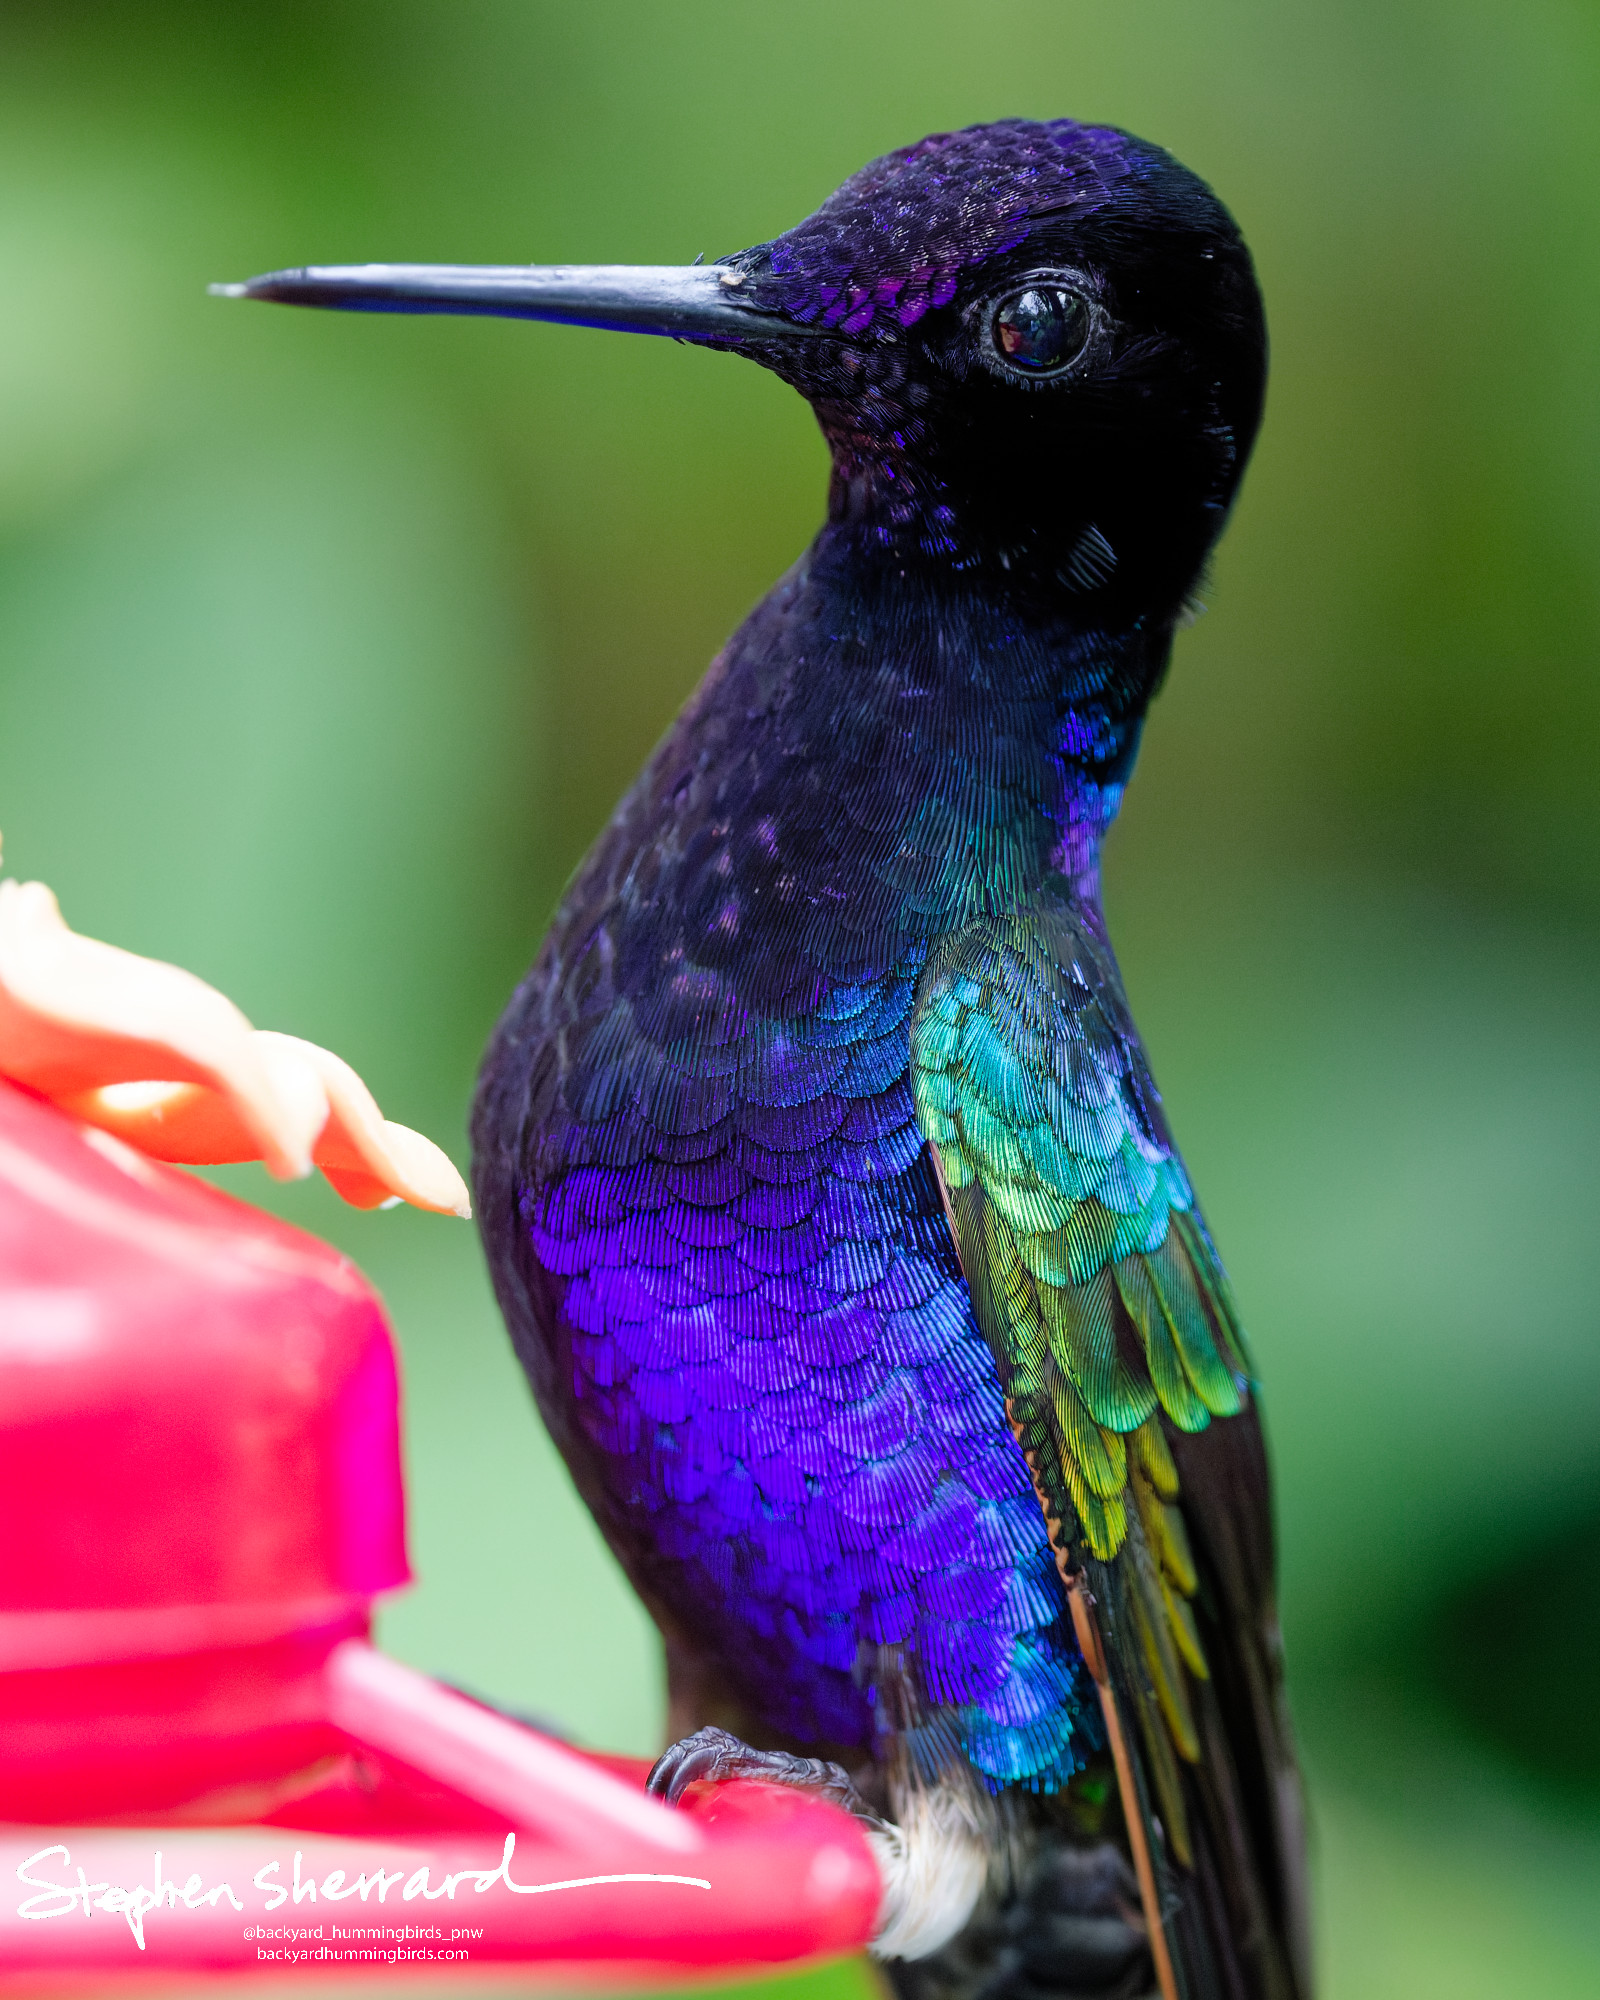
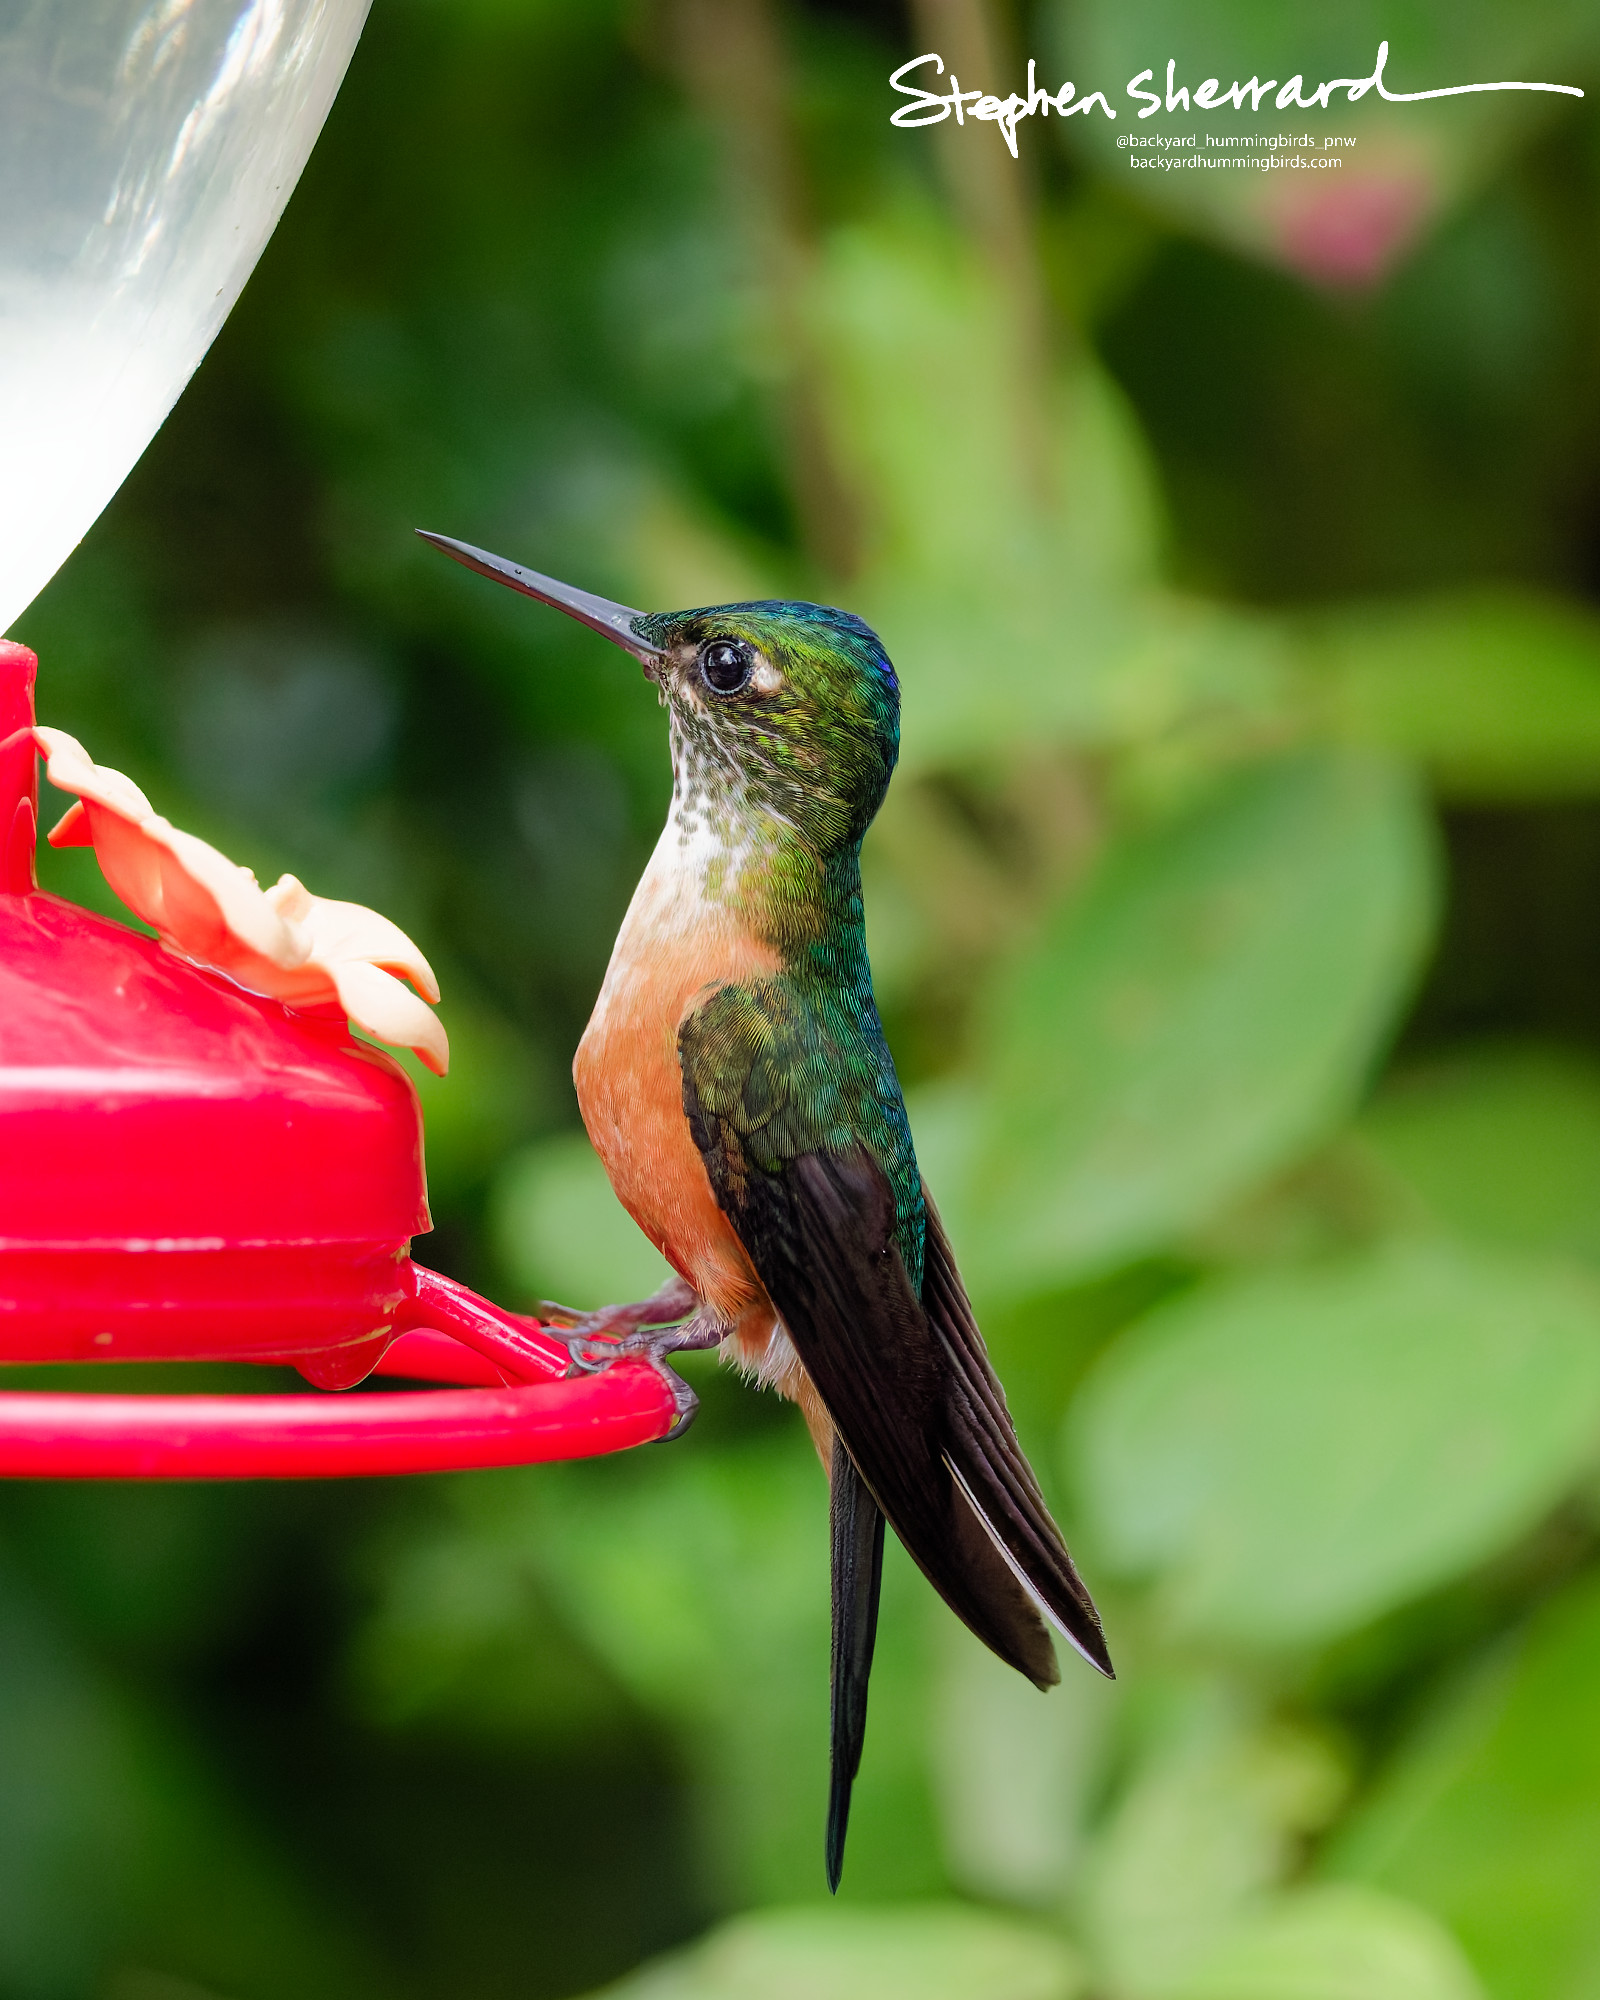
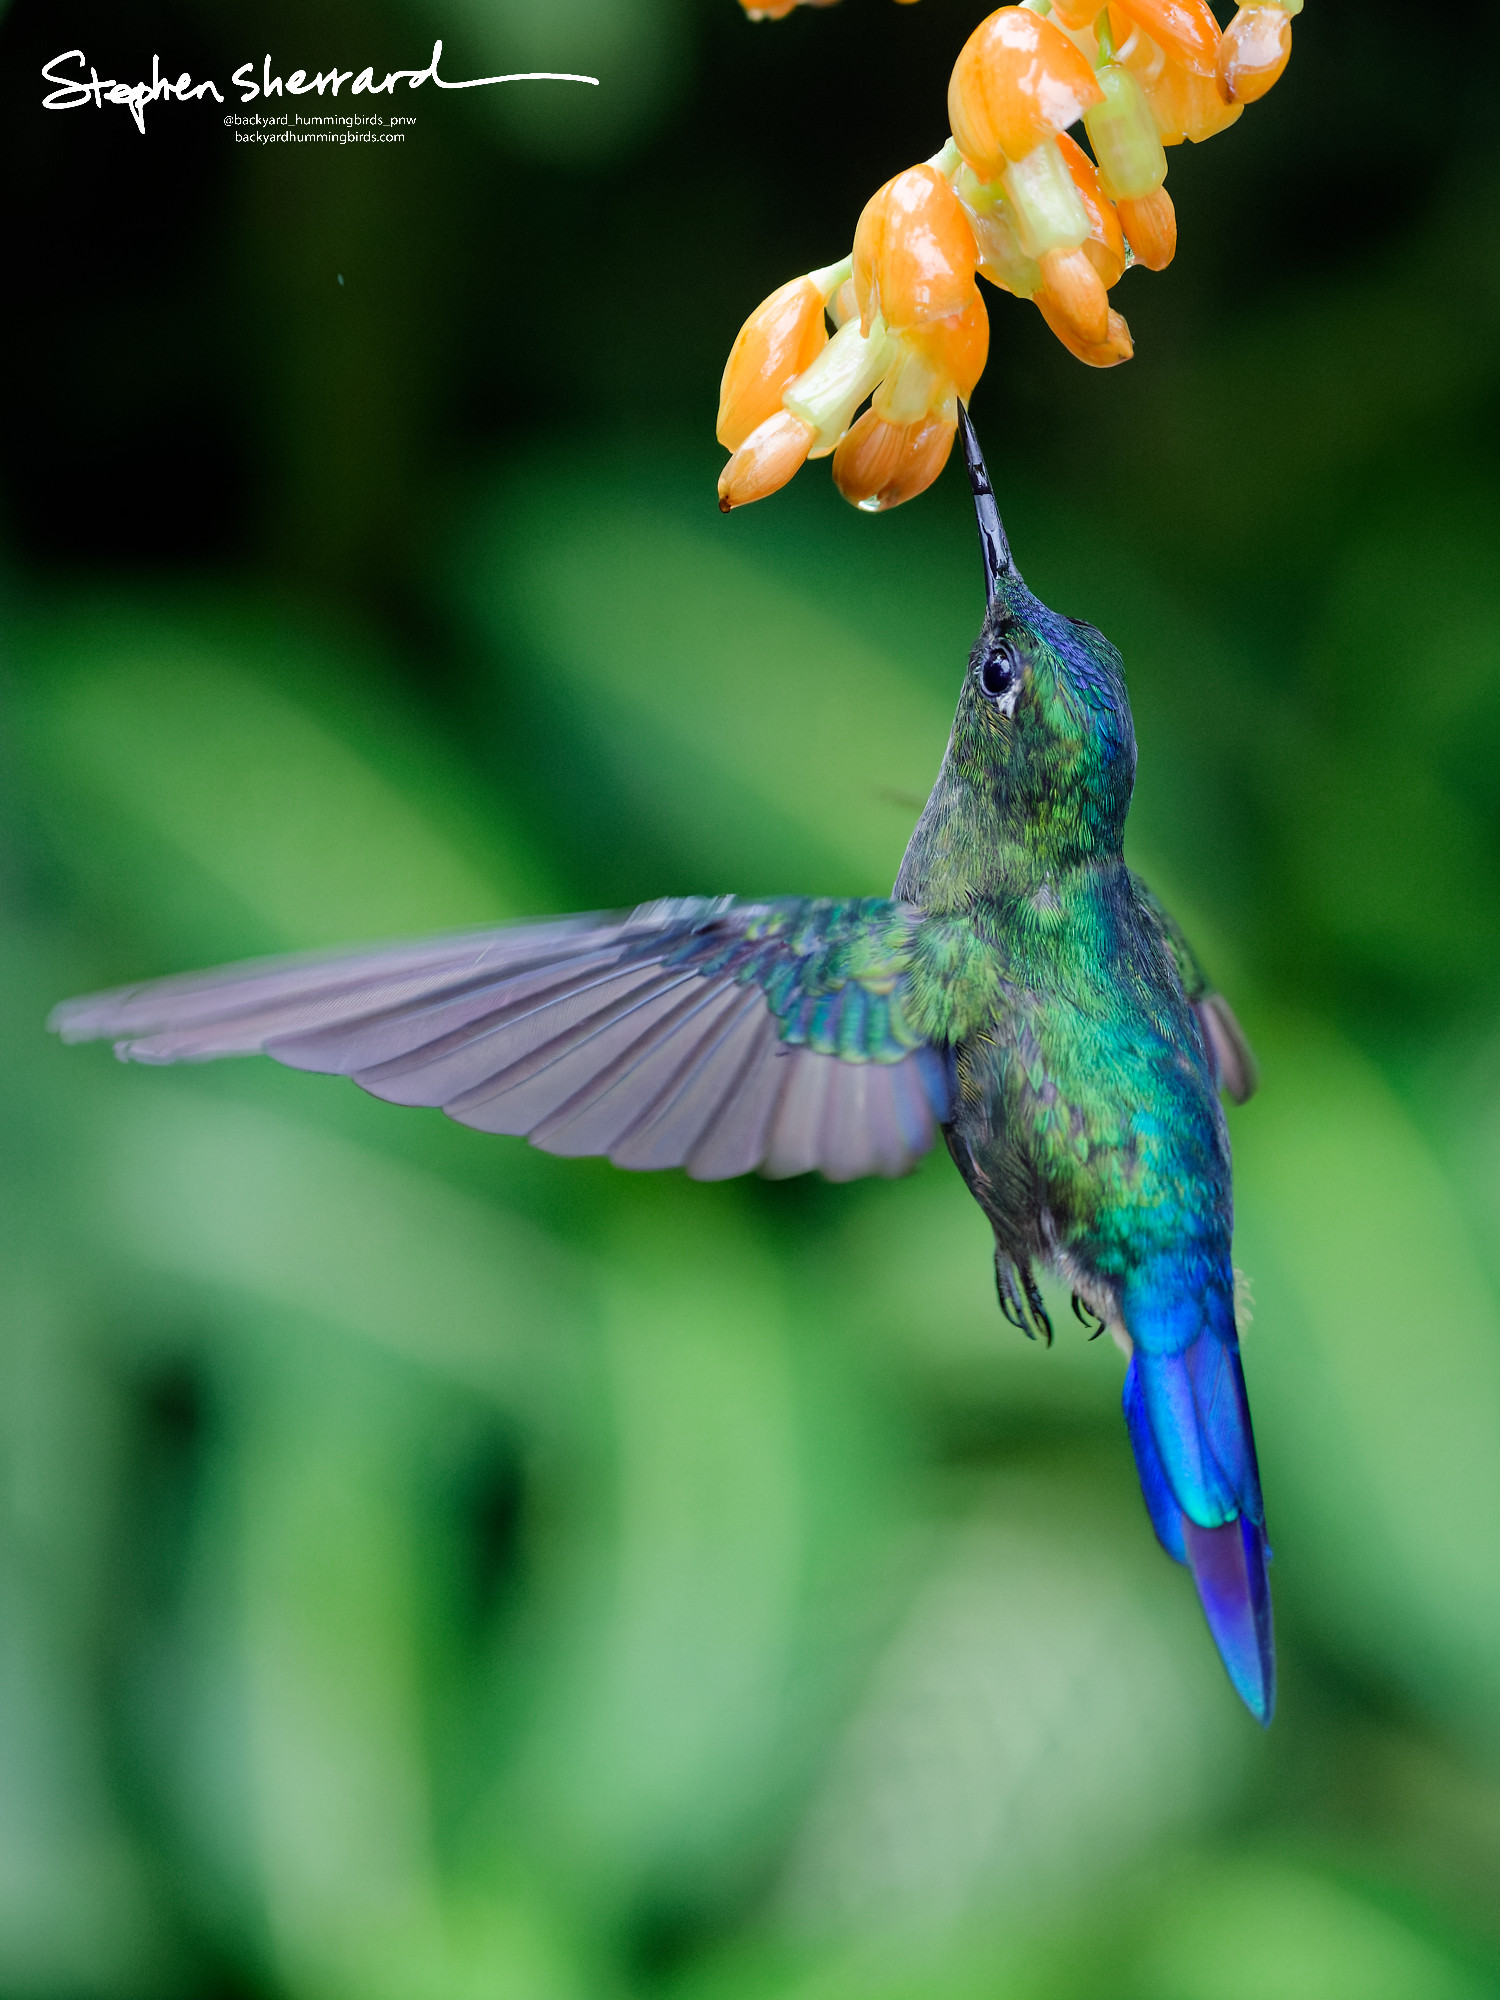
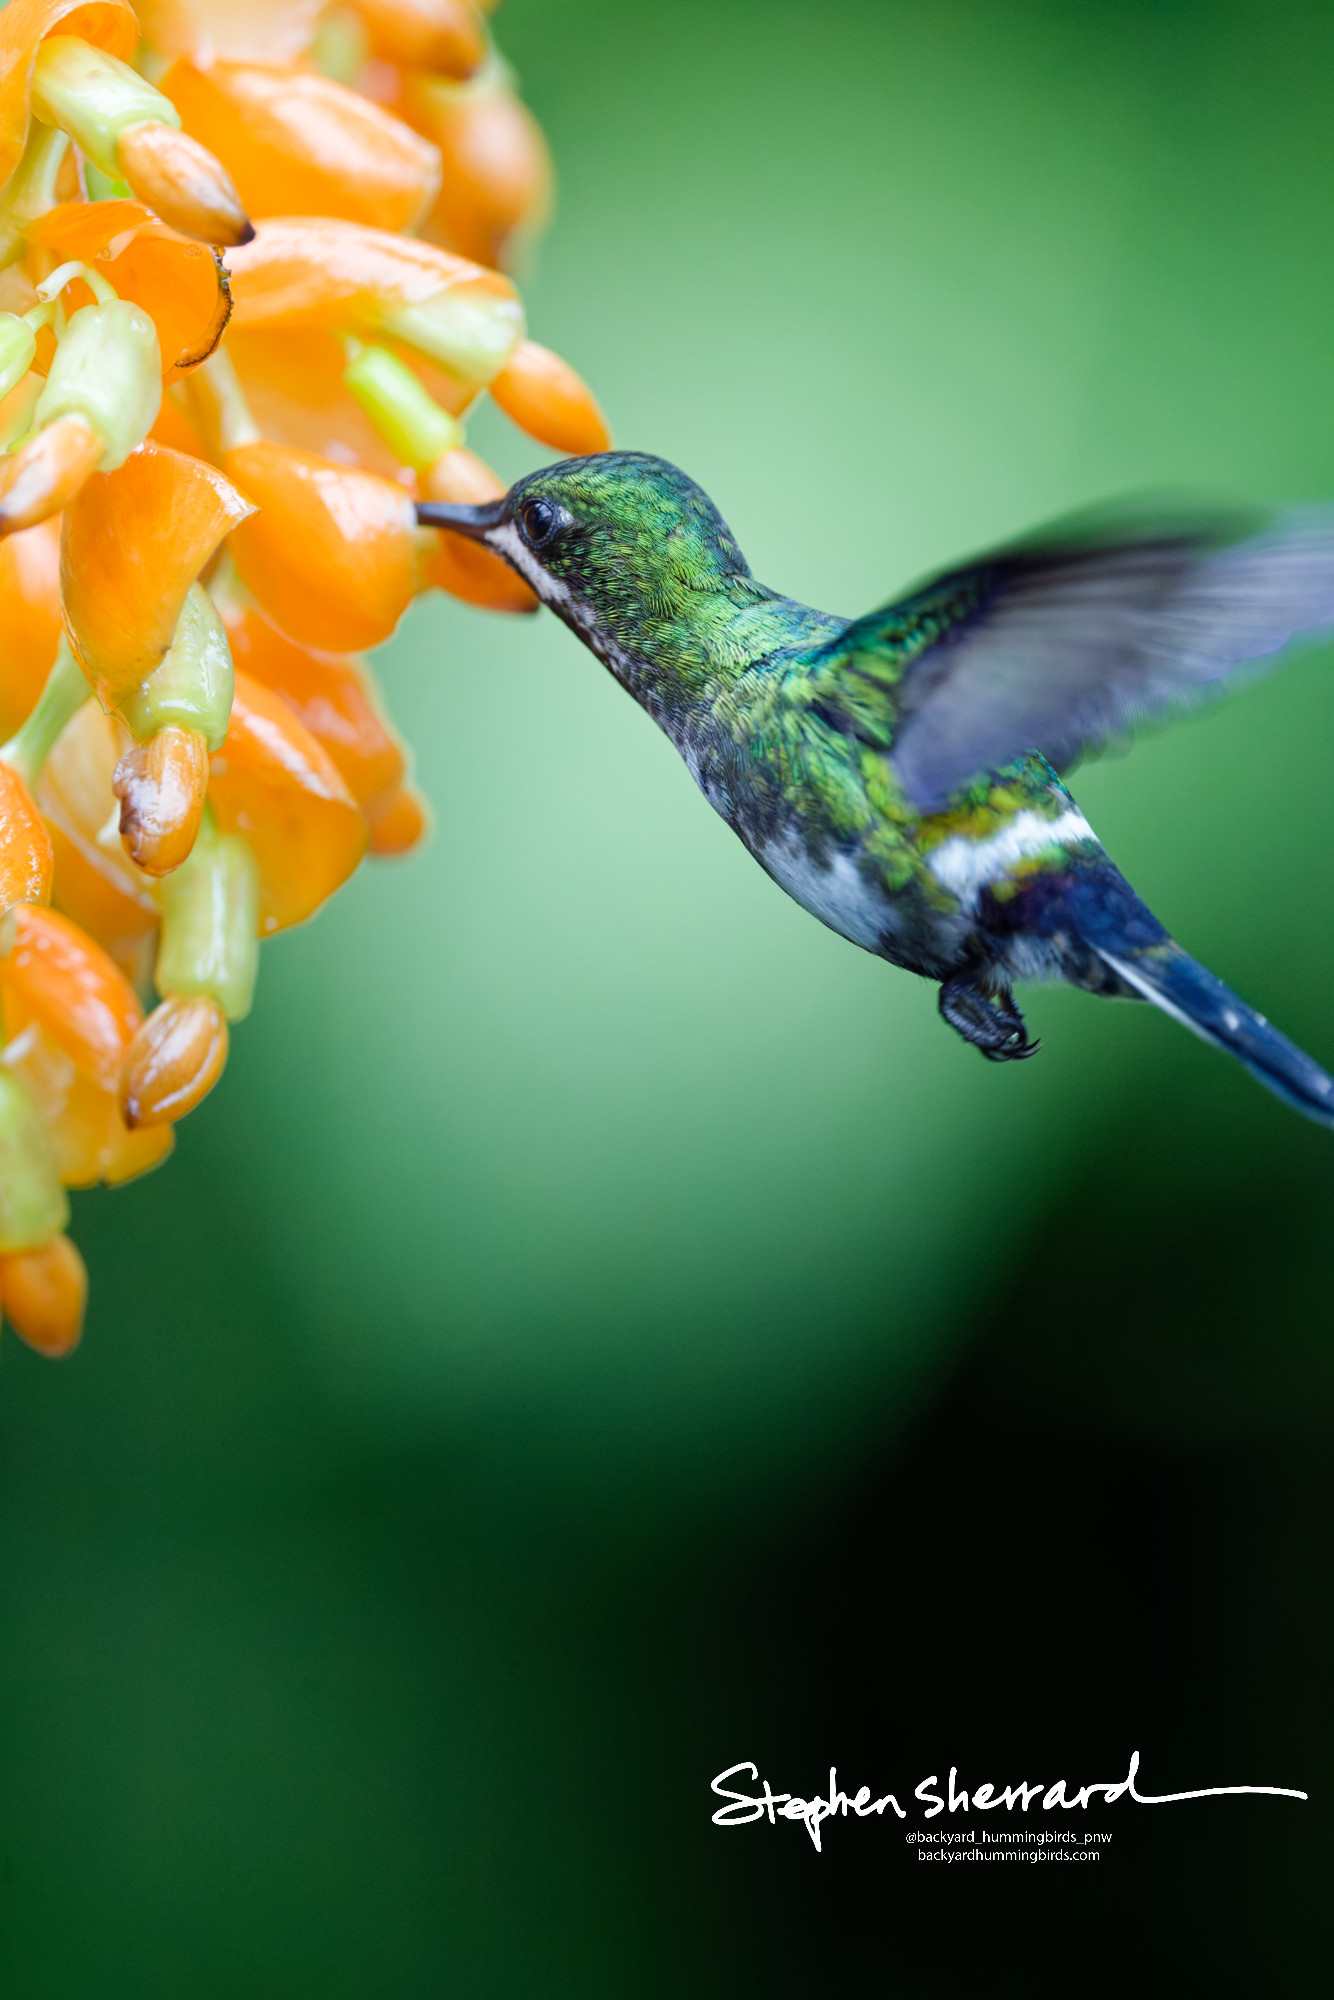
Below are finished photos taken at the hummingbird garden in Ecuador — with ISO values ranging from 12,000 to 25,000, processed through DxO PhotoLab 9 with the same DeepPrime XD3 algorithm found in PureRAW.
Try It Free — DxO Discount Code
Download the trial and run your own worst-case high-ISO shot through it. That's all the convincing most photographers need.
DxO provides me with updated software to test and review, and has shared a discount code for readers:
What About Topaz Photo AI?
I tested Topaz Photo AI when it launched. It does a good job and has useful features like subject detection that applies extra processing to backgrounds. I found the results less natural-looking at extreme ISOs — at its strongest settings, the background can start to look artificially clean. I also missed having reliable batch processing. It may have improved since I last tested it, and it's definitely better than the noise reduction in Adobe products, but I preferred the look of DxO processing.
Adobe AI Based Noise Reduction
In more recent versions of Adobe Lightroom, an AI-based noise reduction option was introduced. It is significantly better than the generic noise reduction built into Lightroom or Adobe RAW, but still can't compare to the DxO algorithm. Before I ditched Lightroom for DxO PhotoLab 9, I found that the AI based noise reduction in Lightroom was good enough for web images with shots at up to around ISO 10,000. However, you missed out on the sharpening and lens corrections built into DxO PureRAW. So, I still found myself doing the round trip between Lightroom to PureRAW and back into Lightroom with a new larger DNG file.
Shoot RAW
For any of this to make a real difference, you need to be shooting RAW. JPEGs are already processed in-camera — the software can help, but not nearly as much. RAW files give DxO PureRAW the full data it needs to do its best work.
Disclosure
DxO recently starting providing me with current software versions to test and review, and a discount code to share with readers. I was already using versions I paid for myself, and recommending PureRAW before they ever reached out — as it genuinely changed how I photograph hummingbirds and other wildlife. Other than free software, I am not being compensated by DxO, and I would still continue paying for each new version of PureRAW and PhotoLab on my own if they hadn't offered me versions for review.